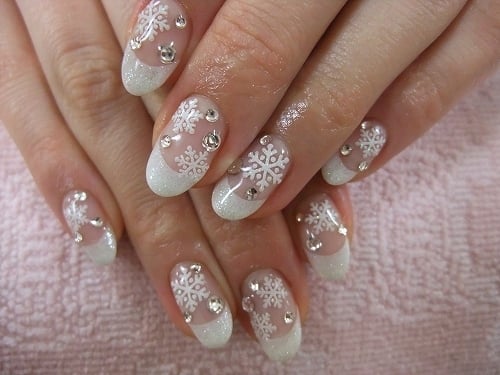
How to Do French Tip Manicure at Home
A French tip manicure looks modest yet professional and dirt free that’s why it’s the choice of many women. Basic French tip nails
are designed with nude or transparent polish so that they appears
strong, clean and healthy. Almost all salons offer a French tip manicure
but considering that fact that you can pay more with a nail technician,
others opt for a do-it-yourself treatment. Do you have any idea how it
is done? Read here for a step by step guide:

French Tip Manicure at Home
First Step
If there is an existing polish on nails,
remove them with a good polish remover and cotton balls. Prepare a
basin with lukewarm water and mild and then soak your hands in there at
least 2 minutes. After that, remove hands on water and dry them
completely—this would make cuticles and polish residues to smoother and
easier to remove.
Second Step
Trim cuticles with the use of a torn or
uneven nail cutter. If not push cuticles a little back with the help of a
cuticle or orange stick. Make sure that when cutting the tips of nails
that all of them are cut with a length that is more or less the same.
Actually, trimming of nails is one of the most common ways on how to design nails.
Third Step
Start applying the base coat to all of your nails in the hands or feet—that is if you want to have a pedicure too. French tip manicure
involves the application of clear or what other say, colorless odor.
Once all the nails are coated, allow them to complete dry up which would
take more or lest 5 minutes.
Fourth Step
Have to have French tip nails,
put clear tape on each nail—that is covering the rest of the nail bed.
Check if the tape is below or above the nail steps as those below will
allow you to pain on a straight but having outside pinkeye more exposed
to sunlight is likely to have nails that are right and do not cause
these games. Do this on all the nails in your hands and feet for
straight three to five days.
Fifth Step
Apply a coat of nude or transparent pink
on the nails for not longer than 5 minutes. If you wish to have second
coating, you may have some. Finishing touches would include the applying
of t the top coat and then letting nails dry, ready to go around town
with nice, beautiful skin.
Sometimes, going to a nail shop is no longer that practical if what you want is plain and simple French tip manicure. It can easily be done in the comforts of your home thus also letting you save a little more money. If you don’t know how to design nails
just like those that others opt for, try French tip. It’s professional
and respectable to look at. Plus, it can be done on your own.


 Back to General Eye Care

 4) ضعي كمية من كريم الترطيب على يديك وعلى أطراف أصابعك ودلكيهم جيداً لتطرية الجلد.
 6) باستخدام المبرد، ابردي أظافرك من الجانبين أولاً، ثم من الأعلى على حسب
الشكل والطول الذي ترغبين فيه، ويفضل استعمال المبرد الخشبي بدلاً من
المبرد الحديدي لأن الأخير يؤدي إلى تقصف الأظافر.
6) باستخدام المبرد، ابردي أظافرك من الجانبين أولاً، ثم من الأعلى على حسب
الشكل والطول الذي ترغبين فيه، ويفضل استعمال المبرد الخشبي بدلاً من
المبرد الحديدي لأن الأخير يؤدي إلى تقصف الأظافر. 7) قومي بطلاء أظافرك باللون المفضل، وانتظري 5 دقائق حتى يجف الطلاء، ثم
ضعي طبقة من طلاء الأظافر الشفاف لتثبيت الطلاء وإعطائه اللمعة المطلوبة.
7) قومي بطلاء أظافرك باللون المفضل، وانتظري 5 دقائق حتى يجف الطلاء، ثم
ضعي طبقة من طلاء الأظافر الشفاف لتثبيت الطلاء وإعطائه اللمعة المطلوبة. منقول مجلة زفافي